




| Here is a complete guide for Mega Man X7. Choose the tab you want in order to view its content. |
|
Release Date: |
Developer: |
|
Systems: |
Genre: |
Game Specs:
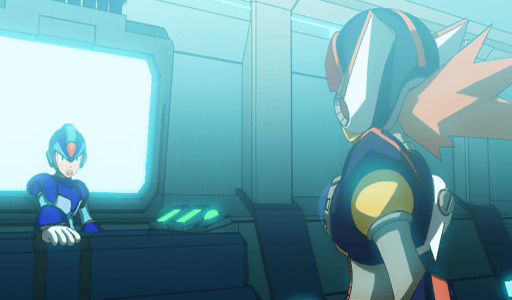
Mega Man X7 introduced a lot of dramatic changes to the series. First of all, X7
was the first X game, which made use of 3D graphics. This led to an interesting,
and even a bit awkward, gameplay. Some levels had classic 2D style, while others
were in full 3D.
Another major addition is the new character Axl. He is very similar to X, which
COs at the beginning of the game, but his arms let him fire the energy balls in
waves instead of uploading shots, and he can also float and roll. Most unique is
his ability to change the shape. By defeating an enemy in his own size with the
"Copy Shot player could pick up a crystal and play as the enemy for a short
time.
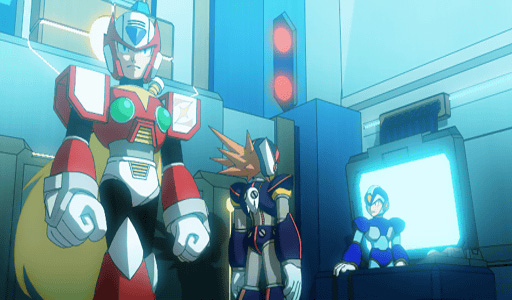
On top of that, now that there were three characters to choose from, so you
could choose two to take with them into the level and then switch between them
when they wanted. As in the previous games, there are several different endings
in the game, depending on who you play as. X7 also contains a SIMPLIFY version
of the system X6 had, where you must rescue helpless Reploid.
| Japan | ||
| Front | Back | Media |
 |
||
| America | ||
| Front | Back | Media |
 |
 |
 |
| Europe | ||
| Front | Back | Media |
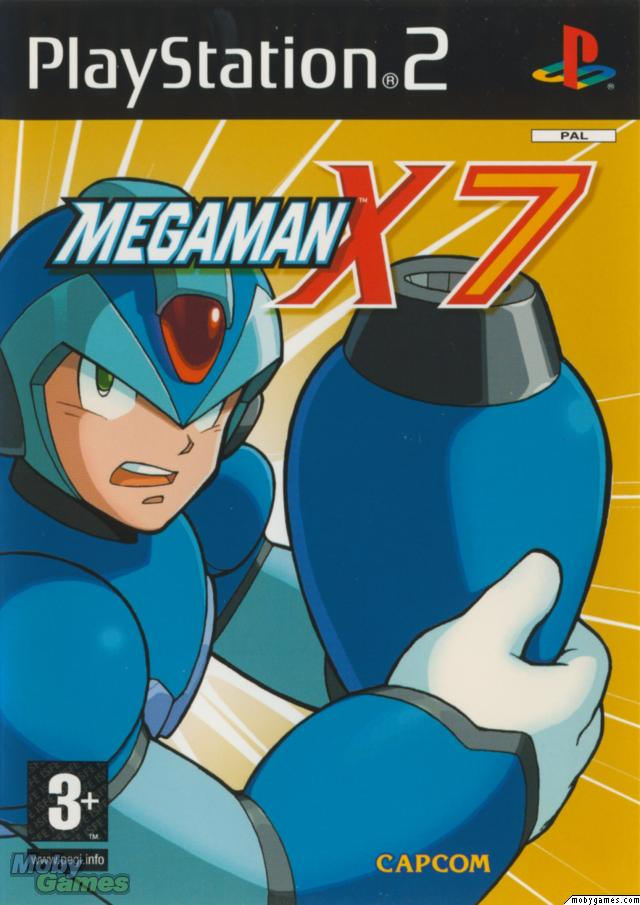 |
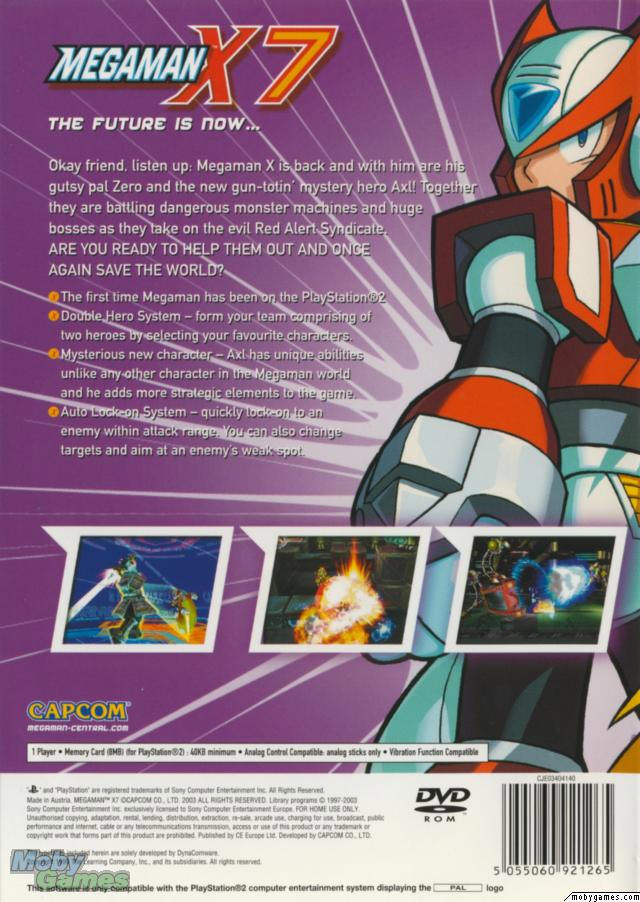 |
 |
| Original Soundtrack | Strategy Guide | |
 |
 |
|
 X
returning than once but this time not to battle. Recently has he begun tire of
constantly fighting without deliver and has decided to withdraw. He works now
with Alia and Signas behind Zero and other Maverick Hunters to reach more
peaceful solutions.
 Zero
returning to alone try stop Red Alert. Despite X has retreated continues Zero
conflicting Peace and justice although he preferably had done it together with
X. But he understands X Decision and supports him fully. He knows with oneself
that now hangs at him protecting world and willing taking it responsibility.
 Axl
is a mystical teenage Reploid previously worked Red Alert. Hand origin is a
mystery and nobody knows was he received its mystical ability from. Axl worked
for Red Alert so long he recollection and thrived good. But when he finally
discovered they just utilized him and his mystical ability chose he that
escaping.
 Dr.
Light returning with more capsules its X. Like always will new costume giving
him useful new abilities. He suffers with X over they never reaches results but
hope he shall realize he is the if someone shall defeating Sigma once for all,
thereby let humans and Reploid live in communities together.
 Alia
is even she back and this time is her job important than on very long. Now when
X has retreated realizes she she got to help rest of Maverick Hunters to
defeating Red Alert and this very effectively. She will give Maverick Hunters
important information about exactly anything likely needed knowing.
 Signas
returning to prop Maverick Hunters and all Reploid. He understands X Decision
withdraw but tries simultaneously persuade him start fighting again. He feel
without him will never go defeating Mavericks thereby Sigma. Although he rather
chooses X so trust he fully that Zero and Axl shall cope Mission.
 Red
is leader Red Alert and whoever caused hunting Axl. When X retreated saw he and
his army his chance to their strengths. But when Axl escaped became Red very
upset and requires now him to back dit he "belong". Axl refused and Red replied
with challenging Maverick Hunter to see who is they correctness Maverick
Hunters.
 Sigma
is again back. He succeeded miraculously survive recent battle with X and Zero,
and has now sights set on Axl and his ability. There proves soon Sigmais actual
brains behind everything happened. By infect Reds men thereby righting them
against him he ordered Red crushing X and Zero so that Sigma ago could give upon
Axl.
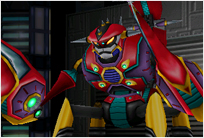 This
boss will take up much of the screen. It will often fire the laser beams from
the tail and even plunge forward with their claws ready to shoot. Glide over him
or take advantage of the wall to avoid him. It is not difficult to predict its
attacks, so you should defeat him quite easily.
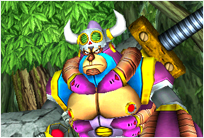 Stone
Soldier Kong will start by throwing away his shield around the entire arena.
Jump over it to avoid it. Sometimes he'll rush towards you, so jump over him or
run away. Sometimes he will even jump up on the cylinder in the center and from
there he will send out a large stone that will split into two parts. These will
then go to the right and left. You can only avoid them by double-jump with Zero.
X and Axl can not avoid them. If you get too close, he will strike with his
sword and if he hits you, it will take half of your life energy, so beware.
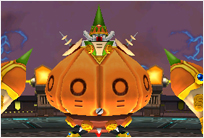 Tornado
Onion will often spin around during battle. If he captures you at the same time
as he does, he will throw you up to the top. From there, you'll fall down and
take much damage from the blast. Run around to avoid this. He will also remove
parts of his body and form a small shield, which he shoots for you. Run away
from it to avoid getting hit. He will also make a long sheet of identical parts
and swing it a few times. Skip it to prevent it. When he picks off parts, he
will become more vulnerable, so use this opportunity to attack him on.
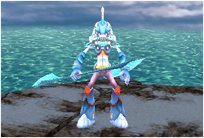 Splash
Warfly will often dive in the waters around the platforms during the battle. He
will often shoot a jet of water toward you, run away to avoid it. He also has
two variants of an attack. He will either rush forward and try to stab you with
a strong attack. Jump away to avoid getting hit. You will notice when he does
this attack when he leans back before he plunges ahead rapidly. He will also be
cut twice in certain situations, and it will bring harm than the other so
beware. When he jumps into the water, he will try to jump up behind you and then
run around and swing his arms, so that he reflects your possible shots.
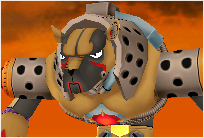 Prepare
yourself for the most strenuous battle ever in the Mega Man X games. Flame
Hyenard will constantly shouting "Burn, Burn, Burn to the Ground!" and you will
be completely brain dead after the battle. When the battle begins, two Flame
Hyenard to run against you. Attacking them is not because these are two clones.
Instead, go to the big robot that goes around the platform. Attack its legs so
that it stops. Climb up to find the real Flame Hyenard. Push against him so that
he comes up to you. The two clones will jump up on the back where the battle
begins.
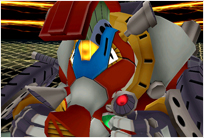 Ride
Boarski will often run around in the circular arena. He will often emit three
wheels behind him. Stand in the middle so nothing happens. He will also very
often run straight at you. If he hits, he will throw you up and then run in with
you in a wall. He will also occasionally publishing a fireballs in the middle,
which forms three arms that spin around the arena. Stick to the walls to avoid
being hurt.
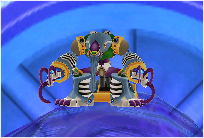 Snipe
Anteater is undoubtedly the most difficult of the eight bosses in the game. You
will stand on top of a cylinder. He will often go around it while you can only
move on top of it. He will often spend mines that look like bombs. Go too close,
they will explode. He will also very often fire lots of missiles at you. Run
around to avoid them. His strongest attack is when he sends out small balls that
will fly around and shoot at you. They will move one by one, but also shoot like
mad. He can sometimes fire missiles during this process.
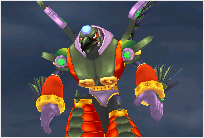 Wind
Crowrang will often fly about during the battle. He will often find itself in
the background. From there, he will fire a boomerang against you. Jump away to
avoid it. Directly afterwards, he will fly up into the air and then try to dive
at you. Glide away as you will see his shadow over you when he comes down. On
the ground, he will try to topple towards you and cut with their knives, so jump
over him when he does this.
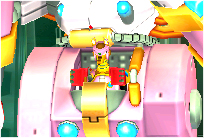 Vanishing
Gungaroo will first sit in a big robot. For easy to defeat him, use up a Ride
Armor that you either take with you from the level or can find it in the same
room as you fight him in. Once you defeat it he will jump out and start fighting
for real. Try to get some hits with Ride Armor before he smashes it. He will
often try to kick you, but you can easily avoid it by running away. When half of
his life energy is gone, he will become faster and harder to hit. He will also
shoot out large energy waves that are easy to avoid.
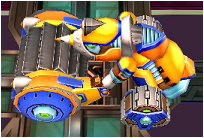 This
boss will run from left to right and vice versa during the battle. This he will
do very often. He will also shoot out a huge energy beam that you can easily
skip. Or, do you beneath him to avoid it. After the beam, he will run across the
road again, and will only run in the middle of it.
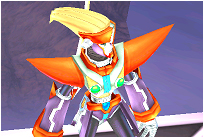 Red
will often teleport around among platforms in the room. He will start in the
middle and fired two energy waves at you when you attack him. Jump to another
platform to avoid being hurt. He will then send out two copies of itself that
will flash next to him before they become fully visible and attack you. Jump
quickly away to avoid getting hit. You can see where Red will turn up when a
large black hole will turn up just before him. Rotate the camera angle to find
him. He will also have large tornadoes whirl around on some platforms. Make sure
you do not get stuck in them, then jump to another platform.
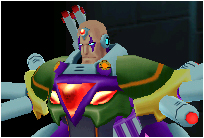 Sigma
will initially be flying in the background and fire loads of missiles at you.
Jump around to avoid them. When he lands on the ground, he will try to shoot at
you. Duck behind the blocks to avoid this. Do the same when he picks up a
bazooka-like weapon and fires a huge energy beam straight ahead. He will also
teleport himself around on the ground, so fast in your fingers.
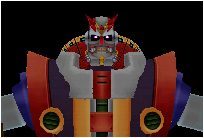 Sigma
will have one and half life meter, so he will take a little longer to defeat. He
is huge and will teleport often during the fight. He will often throw out the
big green plasma bombs will rain down from above. Run away to avoid them because
they will fall down where you were last. His face will sometimes appear in front
of you, so jump away quickly. He will spit out lots of energy balls from his
mouth, so be on your guard. He will be charged first, then attack him so he
stops charging to get a little damage.
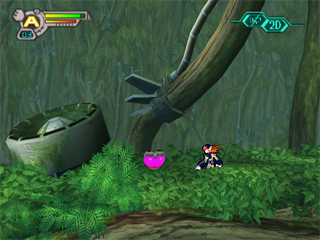 In
the mid-level, where there is much head-stone enemies, you'll find the fifth,
which turns on when you skip it. Destroy it to find the heart in it.
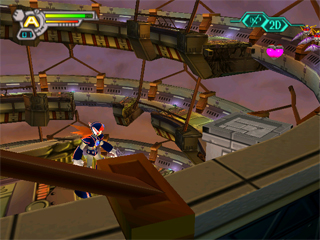 As
you go up the tower, you'll find two wooden boxes that disappear and reappear
all the time. The second will be the heart of you. Kneel on the box and wait
until it disappears to drop down to the heart.
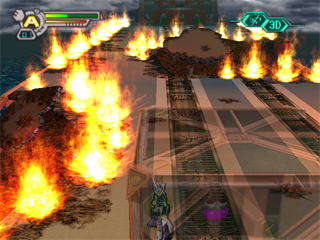 After
defeating the three dragons in the second area of level, you look behind a large
box to the left of the field for to find the heart.
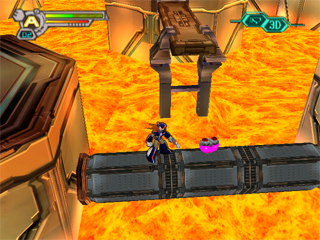 In
the second part of the level you should find a platform with some Metool
enemies. Go to the left to find the heart of a green pipe that injects gas
between the two platforms.
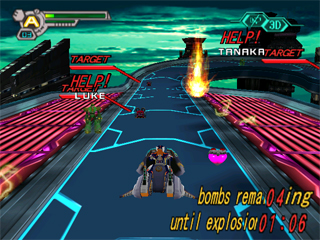 While
driving through the level, you will come to an area where there are pink panels
on the sides. Run near the right side to find the heart.
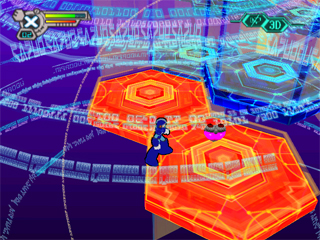 In
the second half of the level, go to the left to see the heart. Go to the first
orange platform to the left. Jump on it to get to the bottom. Go left and jump
onto the next orange platform you see to find the heart above.
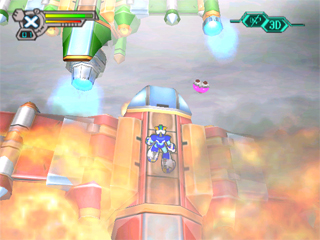 To
take this heart, you Axl. At the beginning of the level you will possibly come
to a plan that will explode. The heart will come flying towards you. Wait until
you see it, jump and float to take it.
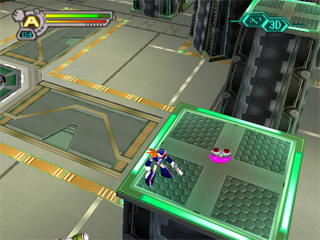 In
the very last room of the level, the large pillars around the room, you climb a
pillar to find the heart.
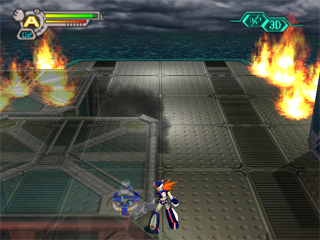 In
the second area of the level, immediately before you meet the three dragons, you
should look behind a big box on the left to find the tank.
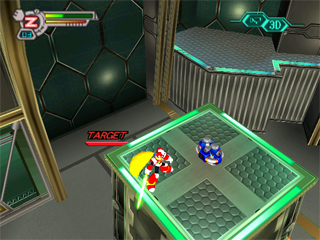 In
the very last room of the level, the large pillars around the room, you climb a
pillar to find the tank.
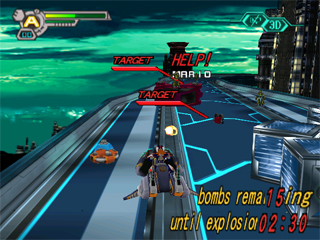 At
the beginning of the level, where there are many cases vulnerable, you should
wait until the boxes explode in order to find the tank to the left of the road.
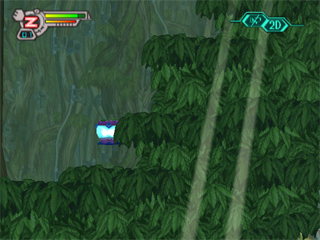 To
take this idea, you need to Zero. Just at the end of the level you will find a
solitary stone main enemy. Climb up on it and wait until it goes on top. Double
Jump then to find the tank top.
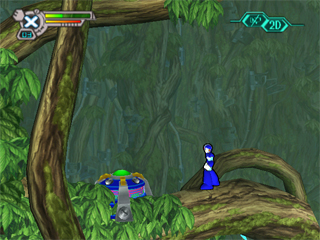 Boots
Upgrade available at Soldier Stonekongs level. When you find two stone head on
top of each other's enemies in front of a large stone wall, you should destroy
the lower head. Climb up on the second and go to the left to find the capsule.
Boots Upgrade allows X to use Glide Dash. This allows him to slide forward as he
flies down. To glide, you jump and press the jump button again. Press the jump
button to jump to the ground again.
Boots
Upgrade available at Soldier Stonekongs level. When you find two stone head on
top of each other's enemies in front of a large stone wall, you should destroy
the lower head. Climb up on the second and go to the left to find the capsule.
Boots Upgrade allows X to use Glide Dash. This allows him to slide forward as he
flies down. To glide, you jump and press the jump button again. Press the jump
button to jump to the ground again.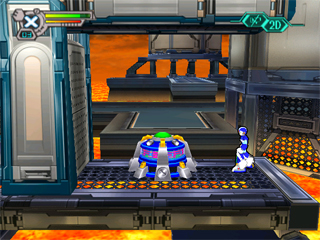 X-Buster
Upgrade, please visit Flame Hyenards level. In the first part of the level you
should take you past the second dragon to find the capsule in the platform.
Climb down the hole after the dragon and go left to find the capsule. X-Buster
Upgrade, X fails to upload and fire a huge energy surplus. Now he can also
upload their own special weapons.
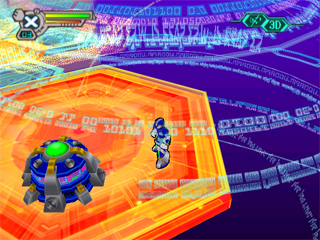 Helmet
Upgrade, please visit Snipe Anteater level. To find it, you need X and Axl. In
the second half of the level of the capsule will be on a huge orange platform.
At the end of this section, you will see a samurai walk through a wall between
two orange-colored platforms. Jump to the first platform to get to the bottom.
Then go right to find a huge orange platform and jump on it to come in capsules.
Helmet Upgrade gives X a special function. If you have chosen X as one of your
two characters and you play as Zero, or Axl, depending on who you chose, and
pick up a life energy capsule that he will get some X of the life energy of the
capsule contains.
Helmet
Upgrade, please visit Snipe Anteater level. To find it, you need X and Axl. In
the second half of the level of the capsule will be on a huge orange platform.
At the end of this section, you will see a samurai walk through a wall between
two orange-colored platforms. Jump to the first platform to get to the bottom.
Then go right to find a huge orange platform and jump on it to come in capsules.
Helmet Upgrade gives X a special function. If you have chosen X as one of your
two characters and you play as Zero, or Axl, depending on who you chose, and
pick up a life energy capsule that he will get some X of the life energy of the
capsule contains.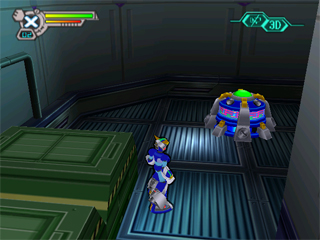 Armor
Upgrade, visit Wind Crowrangs level. In the second half of the level, when
you're inside, you'll come to a place that has three roads. Straight ahead leads
into the level. Go instead to the left to find the capsule. Armor Upgrade
doubles the X defense against enemies' attacks and will take half as much damage
when he injured. It also lets him use the Giga Crash emitting lots of energy
around the X. You use it by pressing L1 and R1 simultaneously.
| Mega Man X Parts | |||
|
Picture
|
Name
|
Category
|
Description
|
|
|
Power Plus Alpha |
Power 1 |
Regular attacks do 30% more damage. |
|
|
Power Plus Beta |
Power 2 |
Regular attacks do 50% more damage. |
|
|
Shock Absorber |
Power 3 |
You take half as much damage. |
|
|
Extend |
Power 4 |
The scope of your shots are now longer. |
|
|
Rapid Shot |
Speed 1 |
Allows you to shoot energy balls faster. |
|
|
Speed Shot |
Speed 2 |
Your shot is now flying in the air faster. |
|
|
Hyper Dash |
Speed 3 |
When you slide so you can glide faster and reach further. |
|
|
Hyper Charge |
Speed 4 |
It is consumed to upload your shots. |
|
|
Super Recover |
Special 1 |
You can get the vital energy of life energy capsules. |
|
|
Double Barrier |
Special 2 |
When you are injured, you are invisible to twice as long. |
|
|
Triple Barrier |
Special 3 |
When you are injured, you are invisible, three times as long. |
|
|
Item Plus |
Special 4 |
Enemies will drop items more frequently. |
| Zero Parts | |||
|
Picture
|
Name
|
Category
|
Description
|
|
|
Power Plus Alpha |
Power 1 |
Regular attacks do 30% more damage. |
|
|
Power Plus Beta |
Power 2 |
Regular attacks do 50% more damage. |
|
|
Shock Absorber |
Power 3 |
You take half as much damage. |
|
|
Extend |
Power 4 |
The range of your sword is now longer. |
|
|
Saber Combo +1 |
Speed 1 |
Adds an attack of your combo attack. |
|
|
Saber Combo +2 |
Speed 2 |
Adds an additional attack with your combo. |
|
|
Hyper Dash |
Speed 3 |
When you slide so you can glide faster and reach further. |
|
|
Saber Combo +3 |
Speed 4 |
To end your combo with a slide attack. |
|
|
Super Recover |
Special 1 |
You can get the vital energy of life energy capsules. |
|
|
Double Barrier |
Special 2 |
When you are injured, you are invisible to twice as long. |
|
|
Triple Barrier |
Special 3 |
When you are injured, you are invisible, three times as long. |
|
|
Master Saber |
Special 4 |
Your attacks delivers more damage than usual. |
| Axl Parts | |||
|
Picture
|
Name
|
Category
|
Description
|
|
|
Power Plus Alpha |
Power 1 |
Regular attacks do 30% more damage. |
|
|
Power Plus Beta |
Power 2 |
Regular attacks do 50% more damage. |
|
|
Shock Absorber |
Power 3 |
You take half as much damage. |
|
|
Extend |
Power 4 |
The scope of your shots are now longer. |
|
|
Rapid Shot |
Speed 1 |
Allows you to shoot energy balls faster. |
|
|
Speed Shot |
Speed 2 |
Your shot is now flying in the air faster. |
|
|
Hyper Dash |
Speed 3 |
When you slide so you can glide faster and reach further. |
|
|
Hover Plus |
Speed 4 |
Allows you to float in the air for a longer period. |
|
|
Super Recover |
Special 1 |
You can get the vital energy of life energy capsules. |
|
|
Double Barrier |
Special 2 |
When you are injured, you are invisible to twice as long. |
|
|
Triple Barrier |
Special 3 |
When you are injured, you are invisible, three times as long. |
|
|
Rolling Attack |
Special 4 |
When you scroll, you can also damage enemies. |
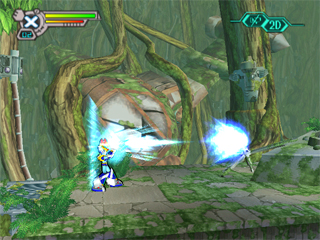 X-Buster
is the weapon that X is equipped with from the beginning. It allows him to fire
various types of shots. Hold button to charge up and release to fire.
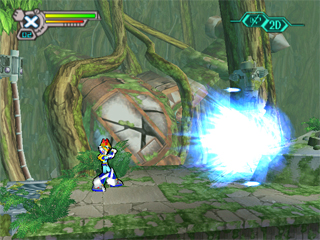 X
strongest shoots will send a huge blue energy balls at the enemy that you are
aiming for. The shot is also a wide scope, which means that enemies can be
defeated in a single shot.
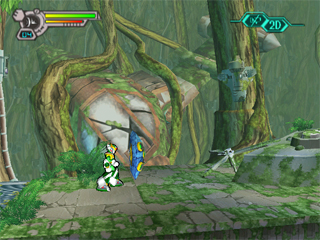 You
may Gaea Shield when you defeated Stone Soldier Kong. This weapon will create a
small shield in front of X. It will protect him from projectiles and may also
reflect these.
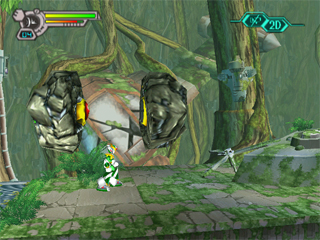 The
charged version will create a huge stone above the X. It will then crack and
split into two parts. These two parts will then slowly move forward or backward
from X, and can easily mash it hampering.
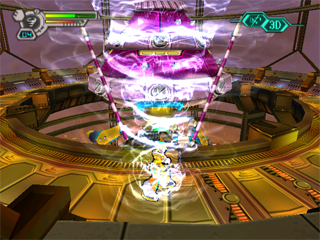 You
may Volt Tornado when you defeated the Tornado Tonion. This weapon will create a
huge electric tornado around X. It will then fly along the ground, and can
destroy enemies very easily.
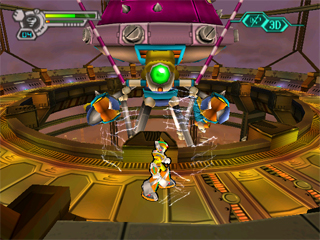 The
charged version will create an electromagnetic shield around the X. When he
stands near an enemy will shield to deliver damage, but it will also be grabbing
the food and energy weapons from the enemy.
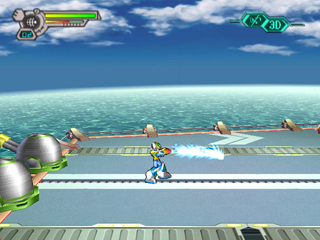 You
may Splash Laser when you defeated Splash Warfly. This weapon will send out a
jet of water straight ahead. It is rather weak but can deliver rapid damage.
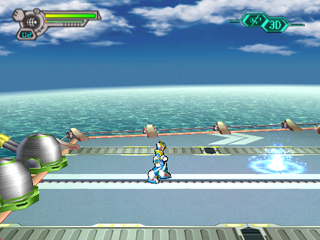 The
charged version will make lots of bubbles flying up over the screen. When they
hit the ground, they will give themselves a splash and a small burst of water
will occur on the ground.
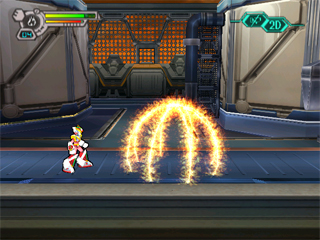 You
may Circle Blaze when defeating Flame Hyenard. This weapon will send out a small
fireballs straight ahead. If it hits something, it will explode and give
themselves a huge spinning ball of fire that can deliver powerful with damage.
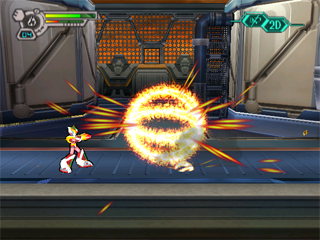 The
charged version will send out a similar fireballs will explode whether it hits
anything or not. Once it explodes, several huge fireballs begin to appear on the
screen.
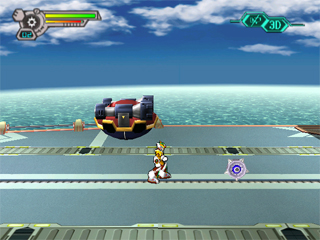 You
may Moving Wheel when you defeated Ride Boarski. This weapon will send out a
wheel. It will roll along the ground and can also roll up along the walls.
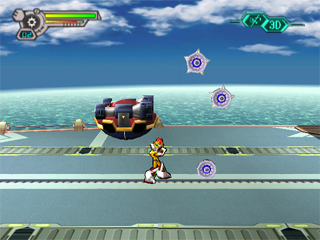 The
charged version will send out three similar wheels. One of them will roll along
the ground, while the other two will bounce up.
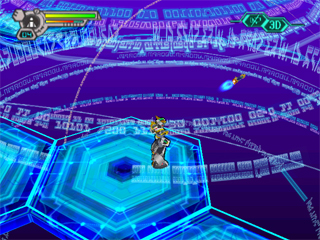 You
may Sniper Missile when you defeated Snipe Anteater. This weapon will fire a
missile straight ahead. It will fly up with the destructive force and can easily
destroy an enemy, or supply power to harm.
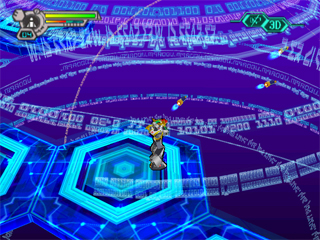 The
charged version will send out three similar missiles. These are basically the
same function, with the difference that now is the triple force.
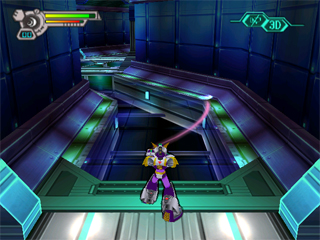 You
get Wind Cutter, when you defeated the Wind Crowrang. This weapon will send out
a boomerang. It will return to X if it hits something.
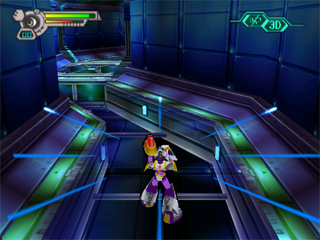 The
charged version will expel eight blue laser beams in different directions around
X. These have a homing effect simply let him take care of enemies that are
around.
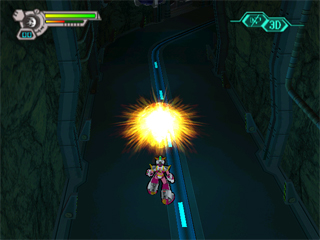 You
may explosion when you conquered Vanishing Gungaroo. This weapon will send a
huge fireball straight ahead. It will not go so far before it disappears, but it
is capable of destroying enemies with destructive force.
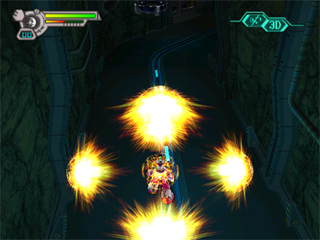 The
charged version will send out four similar ball of fire in different directions
around X. In this way, he can easily protect themselves from enemies who are
around him.
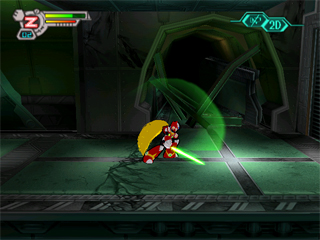 Z-Saber
is Zeros ordinary weapons. With this you can do a triple combo attack by
pressing the shoot button three times. When you defeat a Maverick, you learn a
new technology that requires a button combination to be performed.
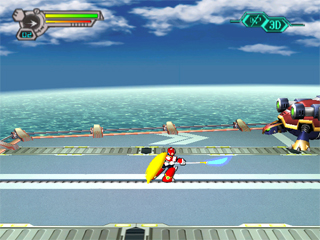 You
may be D-Glaive you defeated Splash Warfly. This weapon is a long rod with a
sharp blade at the front. Zero can use it just as with his Z-Saber. It is
slower, but above all, stronger and has longer range.
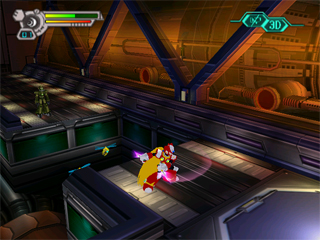 You
may be V-Hanger when you defeated the Wind Crowrang. These are two small knives
that Zero can use as a Z-Saber. They have shorter range, but Zero can chop them
non-stop.
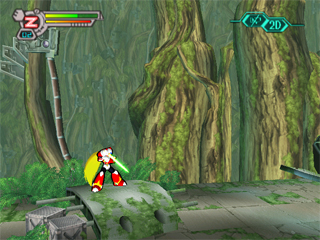 You
learn when you Gokumonken defeated Stone Soldier Kong. This technique allows
Zero guard with his sword. He will reflect back all the shots coming at him, and
if an enemy gets too close, he will make an accounting entry attack.
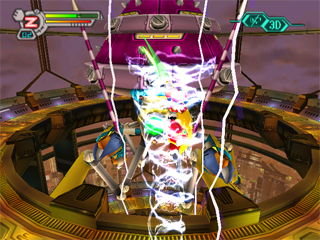 You
learn Raijinshou when you defeated the Tornado Tonion. This technique allows
Zero to create a huge electric tornado around himself. He can also make a
quantum jump in the tornado.
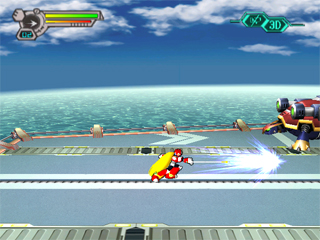 You
learn you Suiretsusen when you defeated Splash Warfly. This technique allows
Zero to deliver a powerful attack. He will send the rod straight up and deliver
lots of damage.
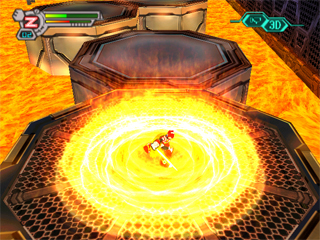 You
learn when you Bakuenjin defeating Flame Hyenard. This technique allows Zero to
use the mighty Giga Attack. He will beat into the ground and create a huge
eldfält around them. Anything that hits will take lots of damage.
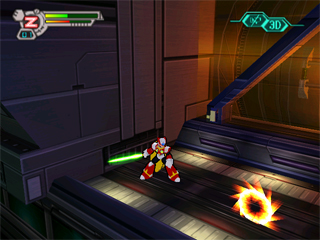 You
learn when you Zankourin defeated Ride Boarski. This technique allows Zero to
send out a shiny wheels. It will travel along the ground and can deliver the
good with the injury.
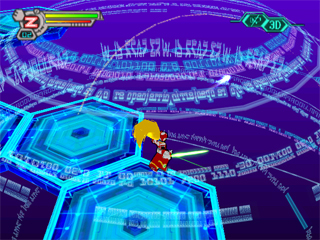 You
learn when you Hieijin defeated Snipe Anteater. This technique allows Zero to
fire a homing missile. It will follow the enemy and deliver heavy damage.
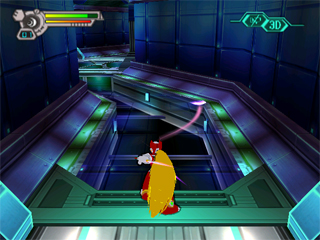 You
learn Souenbu when you defeated the Wind Crowrang. This technique allows Zero to
throw away a boomerang. It is able to go through enemies and thus hit more.
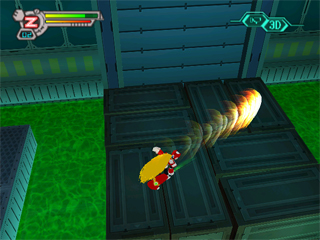 You
learn Hadangeki when you defeated the Vanishing Gungaroo. This technique allows
Zero send a huge energy wave straight ahead. All it will take to meet the
destructive damage or destruction directly.
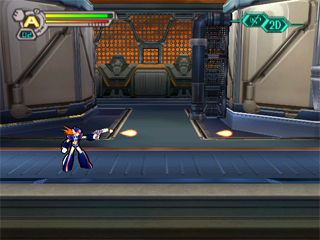 Axl
Bullet is Axl's ordinary weapons. With this, he can fire small energy balls in a
quick way to easily crush their enemy. He can also upload it to expel a Copy
Shot.
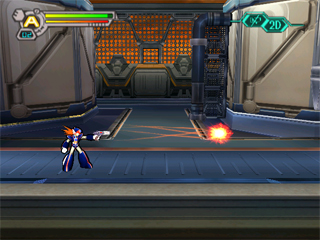 Defeat
an enemy in Axls size with the Copy Shot to get a DNA crystal. Pick up the order
to be transformed into the enemy you just crushed.
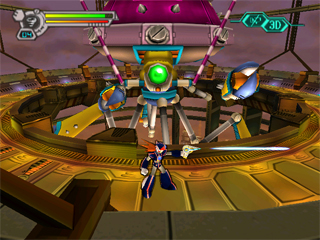 You
get Ray Gun when you defeated the Tornado Tonion. This weapon will fire a long
laser beam straight ahead, which is stronger, though slower, than Axl Bullet.
Shoots can also go through an enemy and thus meet the enemies behind.
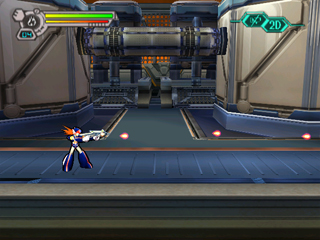 You
may Double Bullet when defeating Flame Hyenard. This weapon gives Axl two guns
that lets him shoot two enemies at once. If two enemies are nearby, he will
attack them at the same time, otherwise they work just like Axl Bullet.
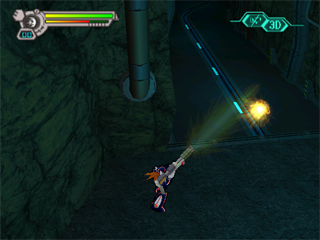 You
get the G-Launcher when you defeated the Vanishing Gungaroo. This weapon allows
Axl expel large flaming ball straight ahead. They are incredibly powerful and
can let him destroy enemies faster and easier.
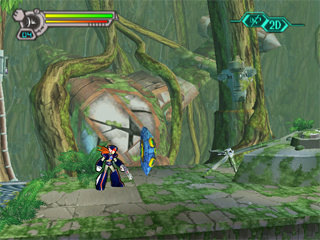 You
may Gaea Shield when you defeated Stone Soldier Kong. This weapon will create a
small shield in front of Axl. It will protect him from projectiles and may also
reflect these.
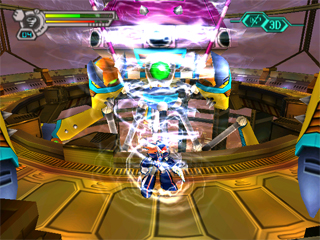 You
may Volt Tornado when you defeated the Tornado Tonion. To use it you must first
create Ray Gun. This weapon will create a huge electric tornado around Axl. It
will then fly along the ground, and can destroy enemies very easily.
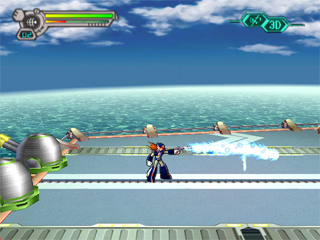 You
may Splash Laser when you defeated Splash Warfly. This weapon will send out a
jet of water straight ahead. It is rather weak but can deliver rapid damage. If
you hold the slide button or press several times, then Axl to extend the stream.
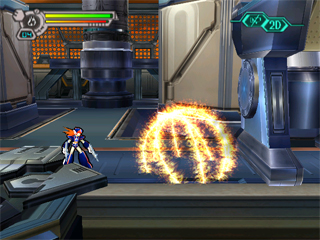 You
may Circle Blaze when defeating Flame Hyenard. To use it you must first create
Double Bullet. This weapon will send out a small fireballs straight ahead. If it
hits something, it will explode and give themselves a huge spinning ball of fire
that can deliver powerful with damage.
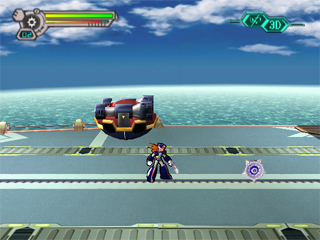 You
may Moving Wheel when you defeated Ride Boarski. This weapon will send out a
wheel. It will roll along the ground and can also roll up along the walls.
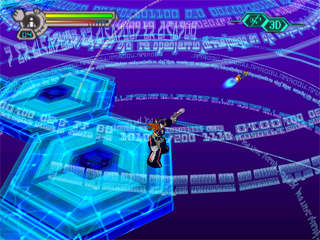 You
may Sniper Missile when you defeated Snipe Anteater. This weapon will fire a
missile straight ahead. It will fly up with the destructive force and can easily
destroy an enemy, or supply power to harm.
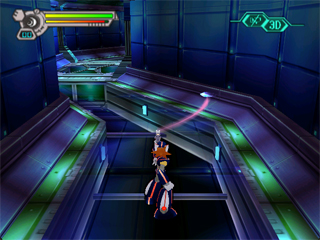 You
get Wind Cutter, when you defeated the Wind Crowrang. This weapon will send out
a boomerang. It will return to Axl unless it hits something.
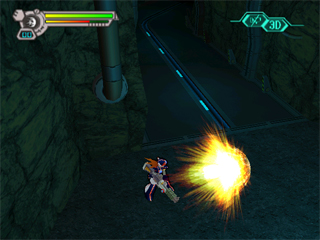 You
may explosion when you conquered Vanishing Gungaroo. To use it you must first
create the G-Launcher. This weapon will send a huge fireball straight ahead. It
will not go so far before it disappears, but it is capable of destroying enemies
with destructive force.